AC Cleaning
Now, normally I would hire a professional(someone who does this for a living) as it’s cheaper than paying my self on a per hour basis. But with this coronavirus spreading around in my area, the risk of having infected is greater than what I would be losing financially. I heard that you need at least Php 500K to get treated.
Cleaning your AC unit should be done at least once or twice a year specifically if it’s used daily. This is to maintain it’s efficiency and prevents it from becoming a breeding ground for molds and bacteria.
WARNING: You need to de-energize the unit before starting any maintenance on it. The unit would be probably damp which makes the risk of electrocution are high. You’ll need to find the circuit breaker where your AC is assigned to and turned it off, it is usually labeled as “ACCU”. Once you have turned the breaker off, verify that the AC is no longer receiving power by trying to turn it on.
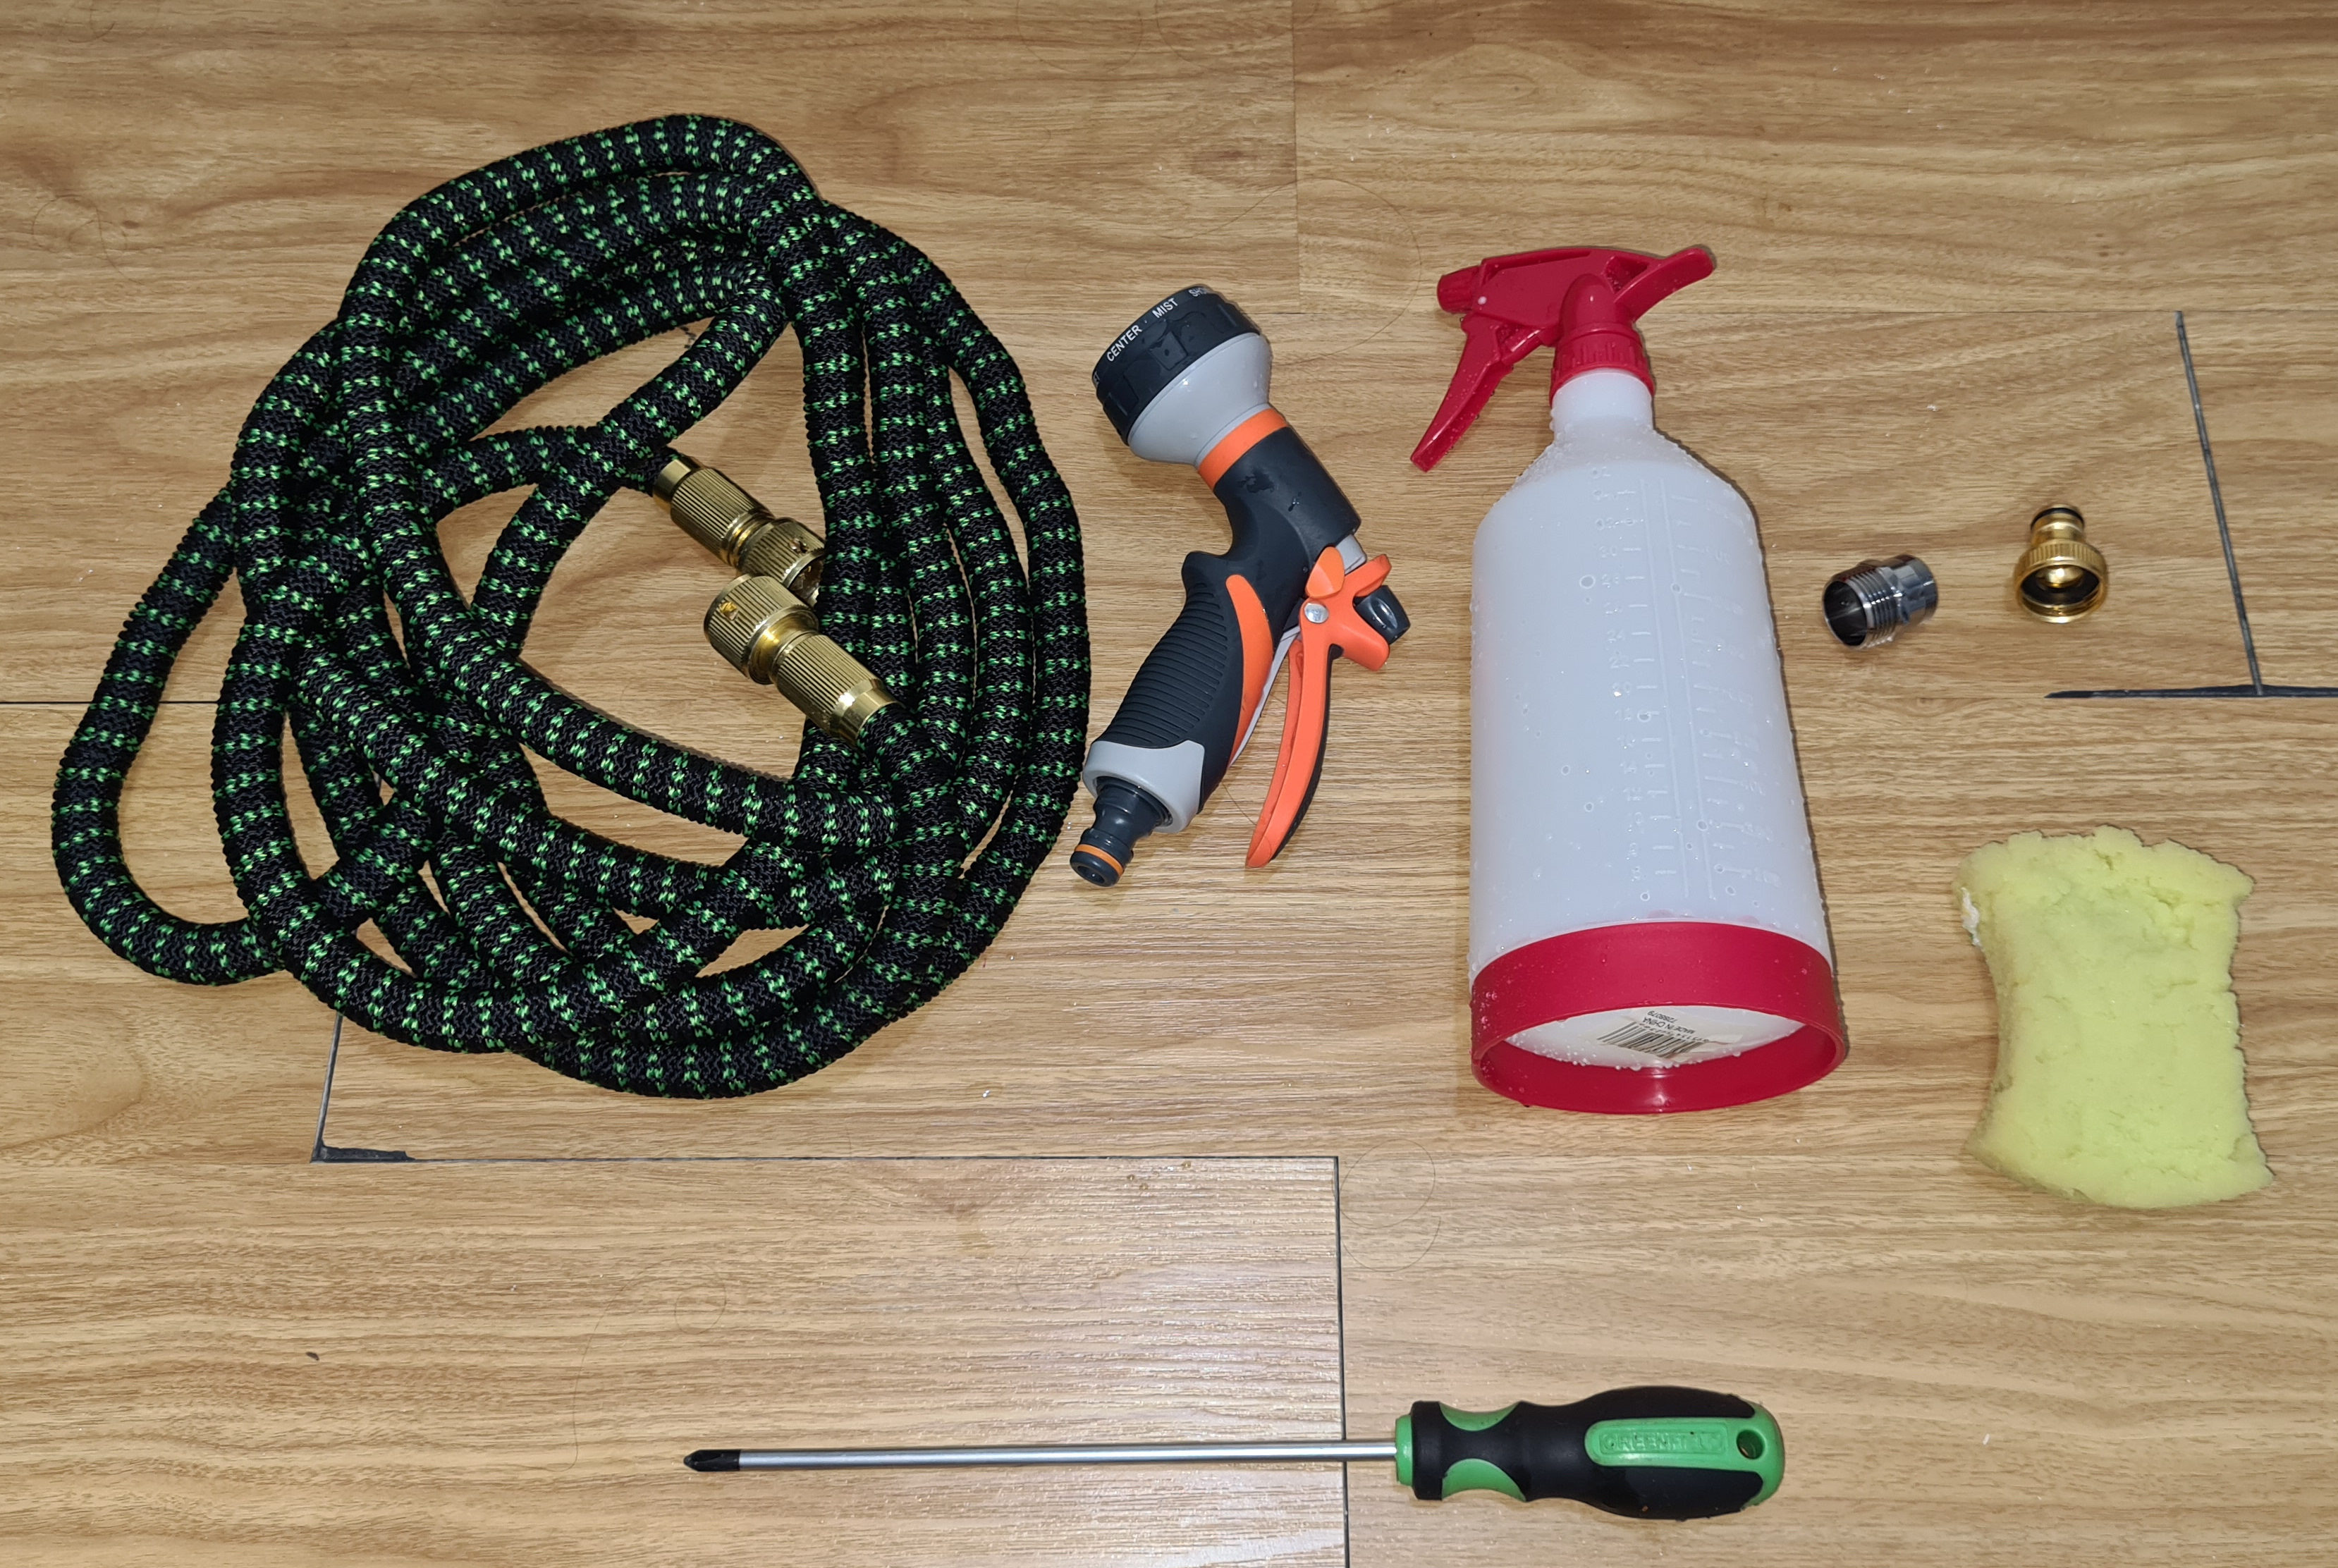
Tools and materials you’ll need:
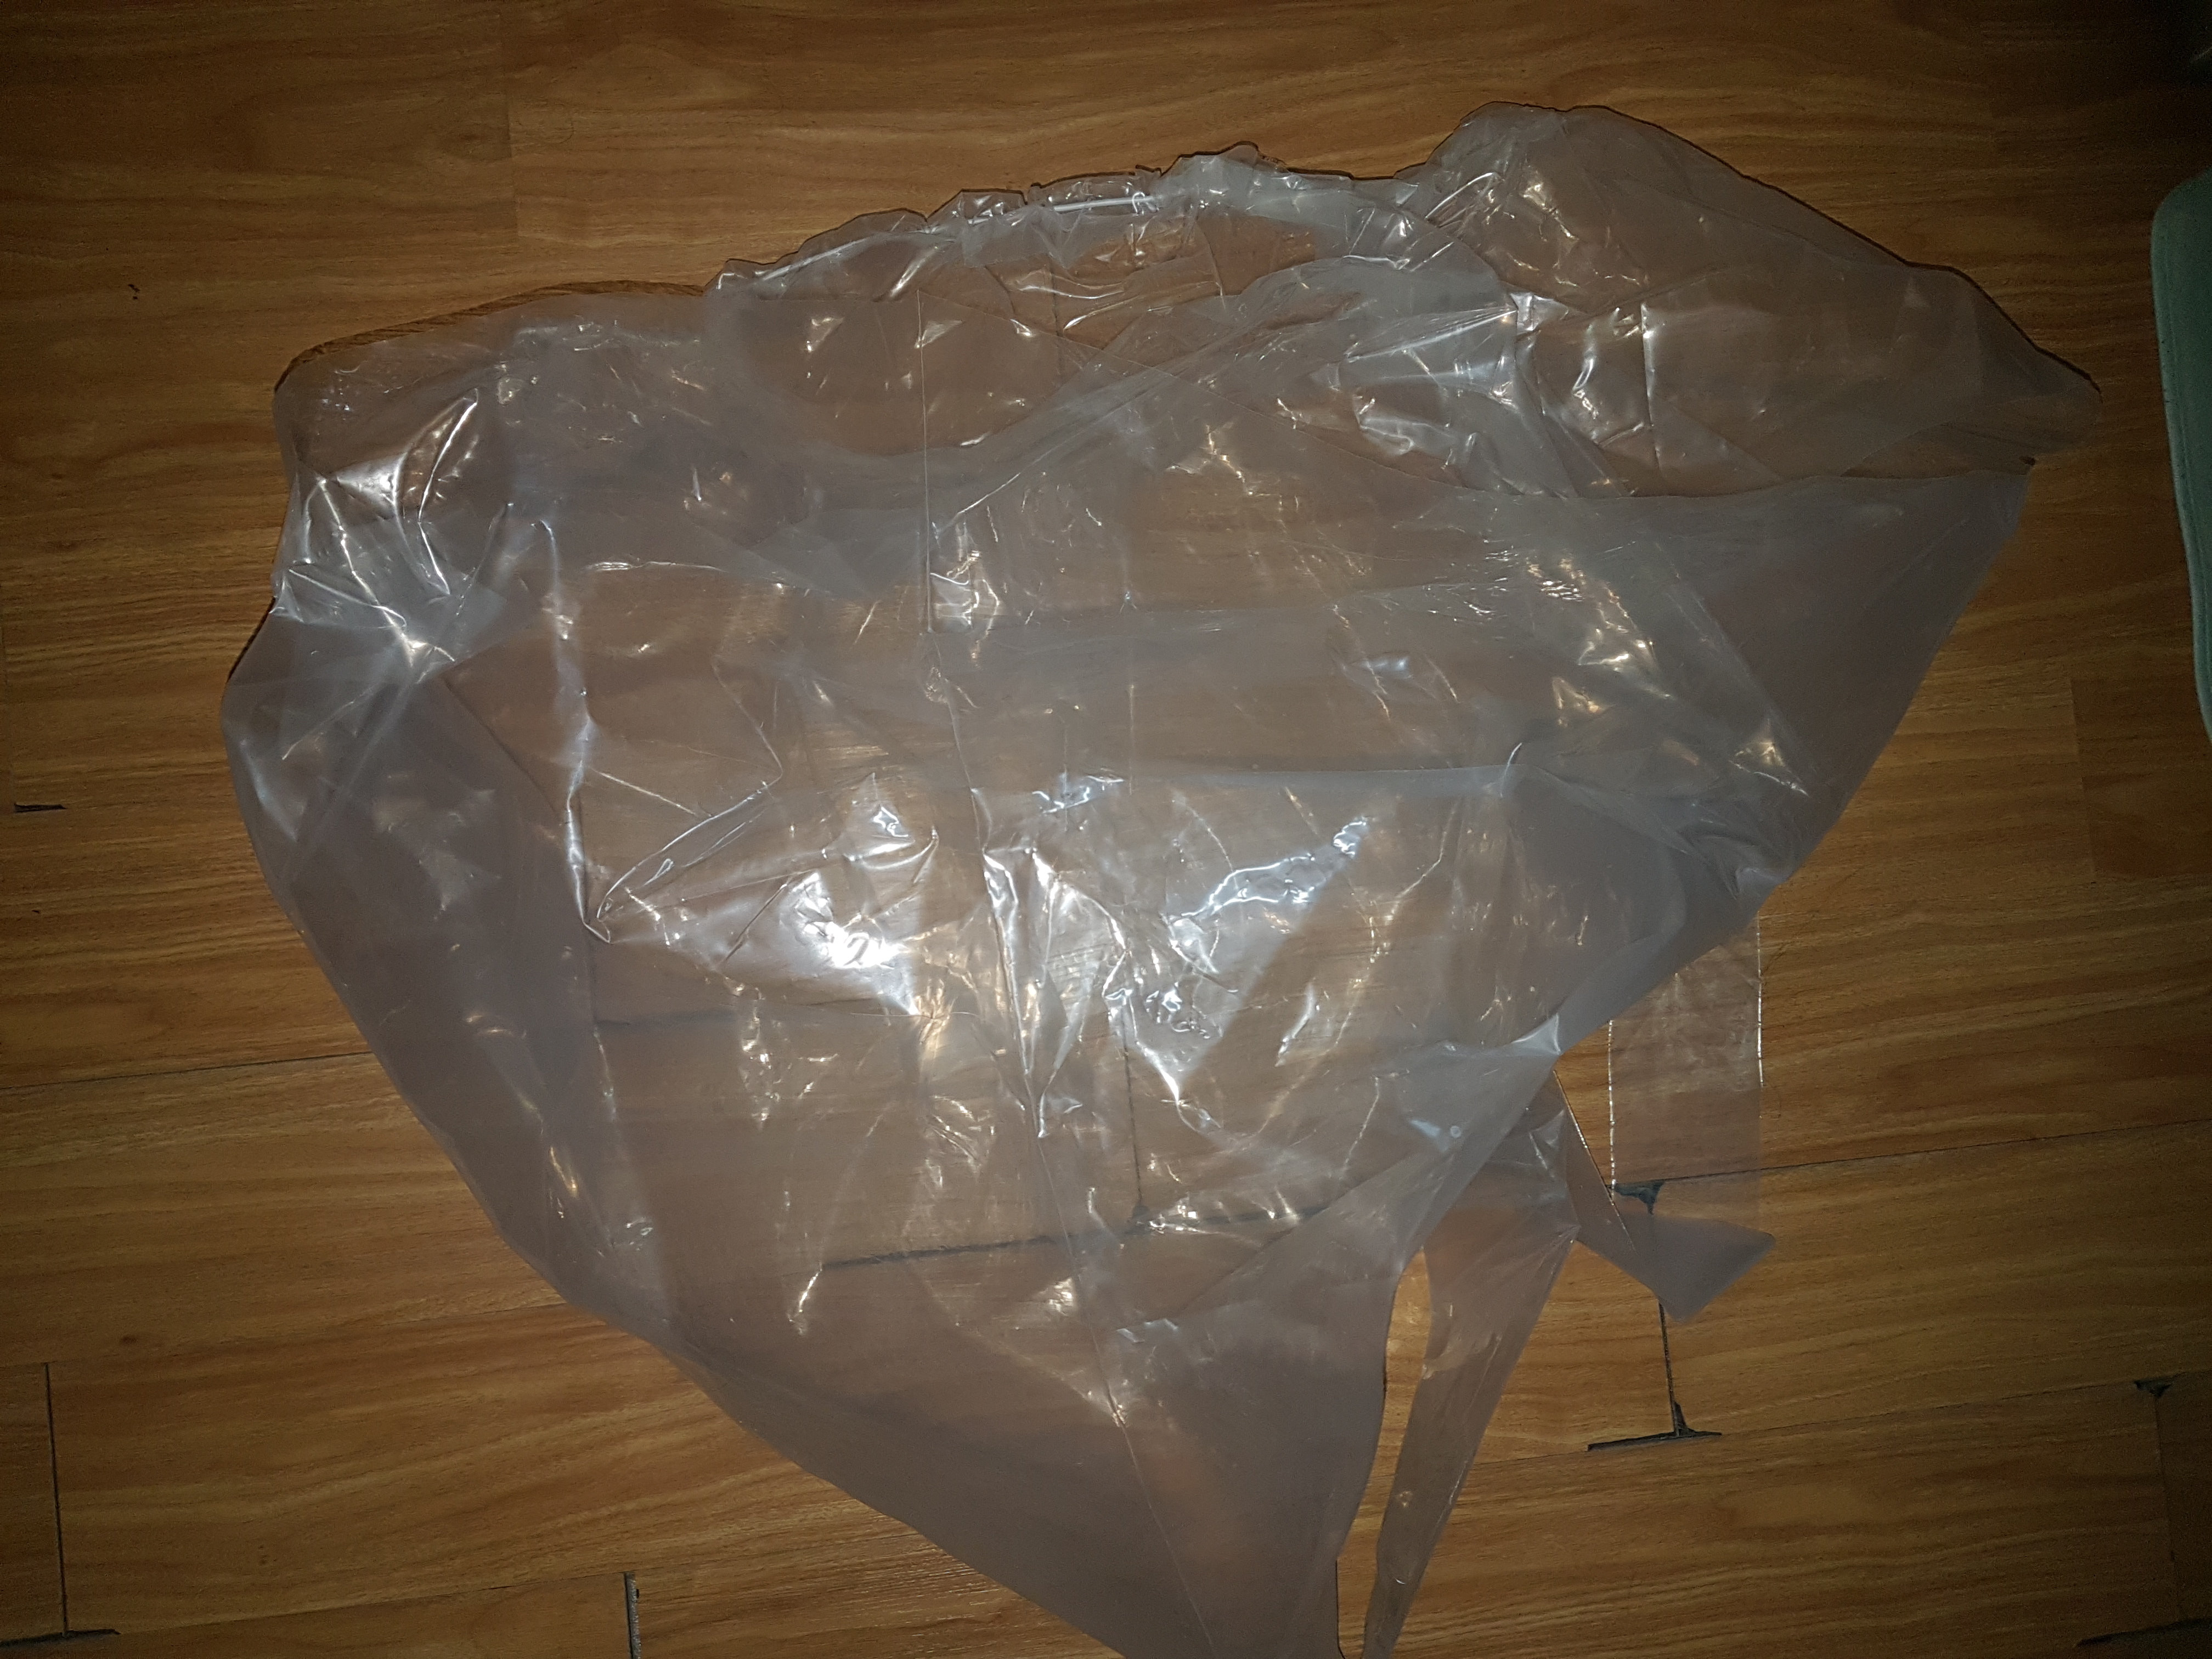
- AC Cover/Cleaning Bag, I prefer the transparent one as it helps me see what am doing.
- Plastic
- Garden hose with adjustable spray nozzle
- Spray bottle for the coil cleaning solution
- Screwdriver
- sponge and rags
- kitchen faucet adapter, ex. M24 to 3/4”, size depends on your faucet
- Alkaline-based Coil cleaning solution: Read the label on how to mix this water, you’ll need at least around 800mL solution.
Personal Protection Equipment:
- Rubber gloves
- Safety glasses
- Face mask
-
To start the disassembly pull the lower part towards you when facing the unit and carefully unlatch it from its hinges on the bottom. This will also reveal the screws that hold the main cover.
-
Remove the screws from the main cover. The main cover usually latches on the top portion of the bracket, to unlatch it you’ll need to hold it at the lower part and pull it towards you and upwards.
-
Using a sponge remove the remaining water from the drip pan.
-
Remove the screws holding the drip pan from the bracket.
-
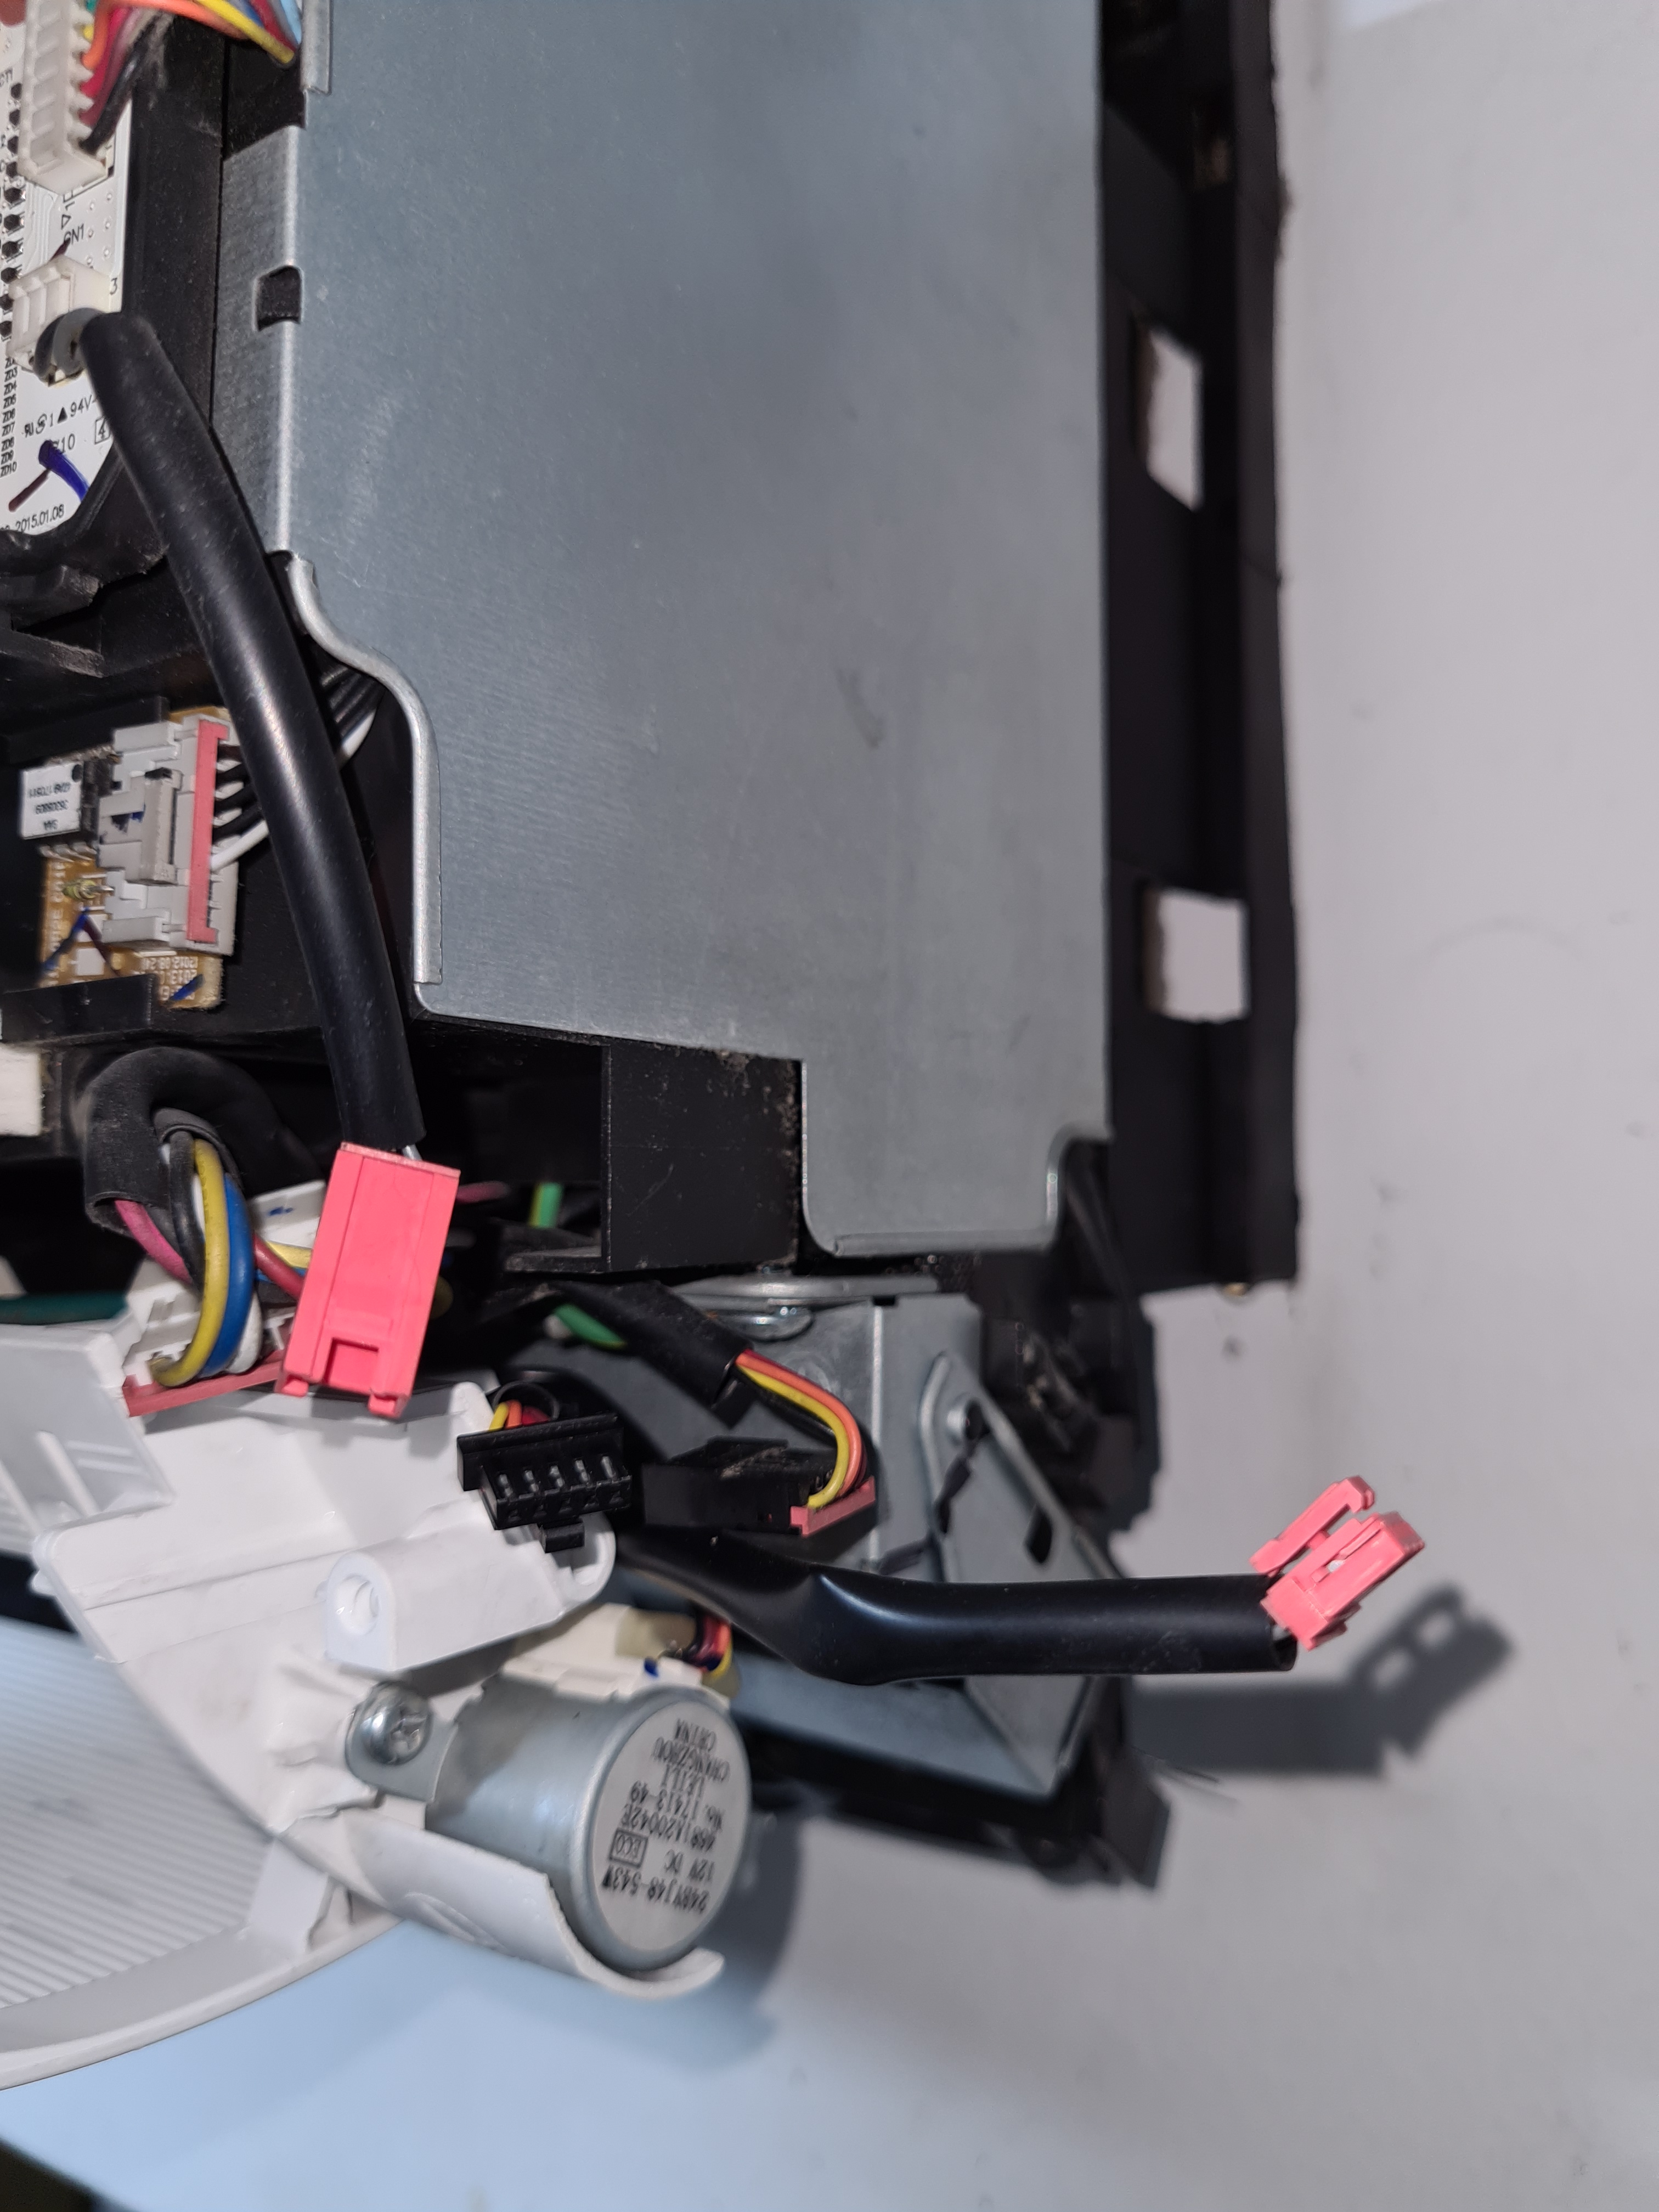
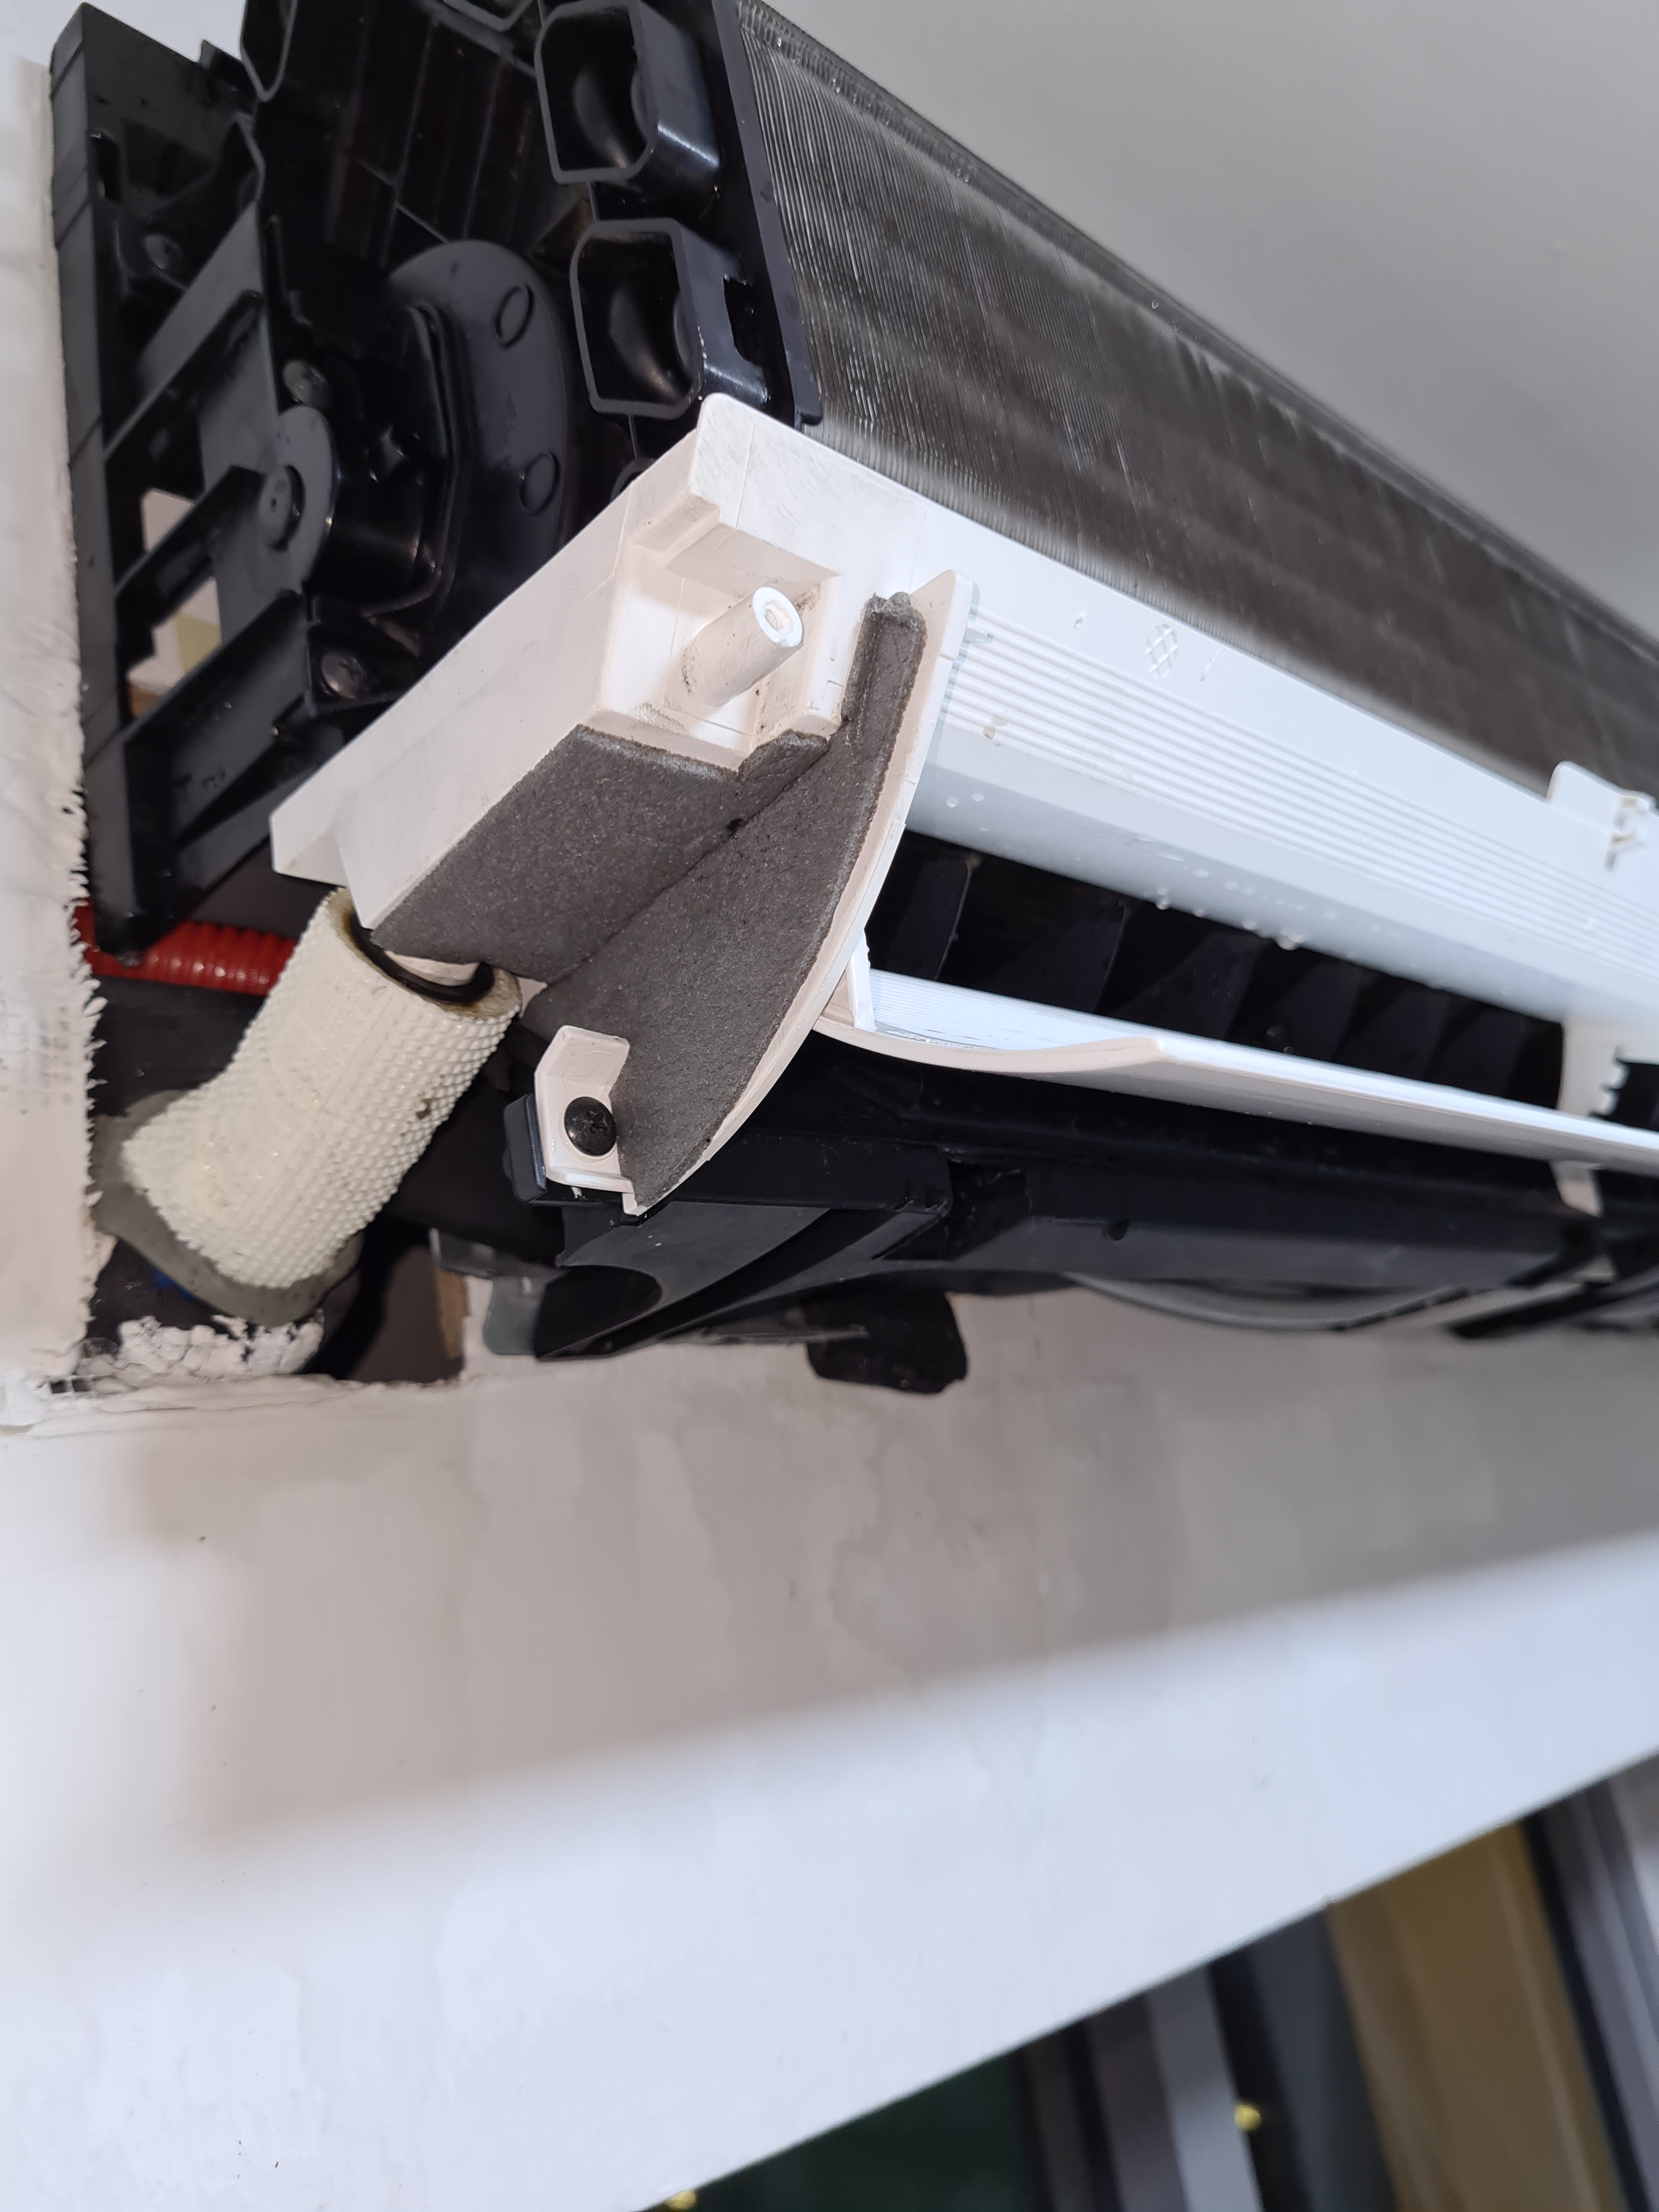
Inspect the sides of the drip pan/louver assembly, on the right side you’ll need to disconnect the wirings to the motor and power button. On the left side you’ll need to carefully disconnect the drip pipe line from drip pan.
-
Remove the drip pan/louver assembly.
-
Clean the main plastic cover and drip pan/louver assembly and set aside.
-
Using a plastic bag, cover the electronics on the right side of the unit. Be sure the cover extends fully at the back.
-
Put on the AC bag cover to the unit. The elastic part of the cover goes toward the backside of the unit.
-
For the AC cover drain hose, you can either use a pail or just route it outside of the window as I did, just make someone hold it or secure it somehow so that it won’t move out of the position when the water starts draining later.
-
Do a pre-rinse to remove some of the dirt from the coil and blower fan. The pressure from the faucet should be enough to dislodge most of the dirt from the unit. Never use a fixed pressure washer on the coil as it’s too strong and will damage the coil fin. https://www.speedclean.com/wp-content/uploads/2016/05/Powerwashed-Coil-2-600x600.jpg
-
Spray the coil cleaner solution on the coil and blower fan. Let it sit for 5 to 10 minutes. It should start making bubbles in a few minutes. Be careful handling this solution though this alkaline based, it will still cause some irritation when it gets in contact with your skin or eyes.
-
Rinse out the solution with water and inspect to see if there are remaining dirt. You might need to reapply the solution a second time to soften up stubborn dirt. Rinse afterward.
-
Once done with the final rinse. Let the unit dry off, use an electric fan to speed up the process.
-
While waiting for the indoor unit to dry off, do clean the outside unit’s coil using the cleaning solution and water no need to disassemble anything.
-
Once the indoor unit is almost dry, reassemble the main cover and drip pan back into the indoor unit.


No comment
Say something
Thank you
Your post has been submitted and will be published once it has been approved.
OK
OOPS!
Your post has not been submitted. Please return to the page and try again. Thank You!
If this error persists, please open an issue by clicking here.
OK